
|
Rhode Island Articles of Incorporation for a Non-Profit Corporation | Form 200 |
The Rhode Island Articles of Incorporation for a Non-Profit Corporation | Form 200 should be completed then submitted to the Rhode Island Secretary of State Business Services Division by Incorporators when they wish to form a nonprofit corporation in the State of Rhode Island. This template form outlines both the structure and minimum information this entity expects when an Incorporator seeks to form and register their corporate entity. In many cases, additional information or filings may be required as well. That is the formation process may very depending upon a variety of factors ranging from the type of nonprofit corporation being created to the location of the nonprofit corporation being created. A good example of nuances to this process may be found when a Non-Profit Corporation intends to seek Tax-Exempt Status in the future. While only the Internal Revenue Service may grant this status, certain language is likely to be required in these articles (501(c)(3) compliant language). Since this filing is required of every corporation before it is allowed to operate, it is therefore considered wise for Incorporators to seek professional advice by consulting such entities as an attorney, accountant, and the Internal Revenue Service.
The submittal of this form must be accompanied with a Full Payment of the the Filing Fee ($35.00). If filing by mail, to Secretary of State, Division of Business Services, 148 W. River Street, Providence, Rhode Island 02904-2615, the Filing Fee may be paid for with a check made out to “Rhode Island Secretary of State.” If filing electronically (http://sos.ri.gov), you may use a credit card to remit payment. It should be noted that you must have an account with the Rhode Island Secretary of State Business Services Division in order to submit a filing. This is free and may be setup by visiting the Rhode Island Secretary of State Site’s Business Portal (http://sos.ri.gov).
How To File By Mail
Step 1 – Select the link, “Download Form,” above to download the Rhode Island Articles of Incorporation for a Non-Profit Corporation or click here: Form 200. This form should be printed with either a printer or a typewriter since it will be rejected if it is illegible.
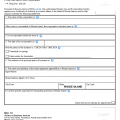
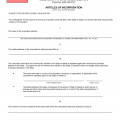
Step 2 – Once you have downloaded the form and are ready to fill it out, locate the First Article. Here, document the Full Name you wish the nonprofit corporation being created in the space provided.
Step 3 – Next, in the Second Article, check the first box if the nonprofit corporation being formed will operate Perpetually without an end date or, if the corporation has chosen a Dissolution Date, check the second box then enter the Date of Dissolution on the space provided.
Step 4 – In the Third Article you will need to fill in the Purpose of the nonprofit corporation. That is, why is it being formed and how will it operate in the State of Rhode Island. This must be done in the text box provided. If there is not enough room then place a mark in the check box labeled “Check box to indicate an attachment” then continue the Purpose definition on a separate sheet that is clearly labeled as being this article.
Step 5 – In the Fourth Article, you may include any Provisions that must be documented in these articles at the formation of this corporation. Any issue may be addressed so long as it is compliant with both state and federal laws. If there is not enough room, you may continue on a separate document provided you place a mark in the check box labeled “Check box to indicate an attachment.”
Step 6 – In the Fifth Article, document the Registered Agent and the Registered Office of this agent. The Registered Agent is the individual or business entity that has agreed to accepting court generated documents aimed at the forming nonprofit corporation on behalf of the named nonprofit corporation. Locate the first box in this article then enter the Full Name of the Registered Agent.
Step 7 – On the second line of the Fifth Article report the full Street Address of the Physical Location of the Registered Office maintained by the Registered Agent. Note: This must be a location in the State of Pennsylvania.
Step 8 – On the third line of the Fifth Article report the City and the Zip Code of the Registered Office’s Physical Location in the spaces provided.
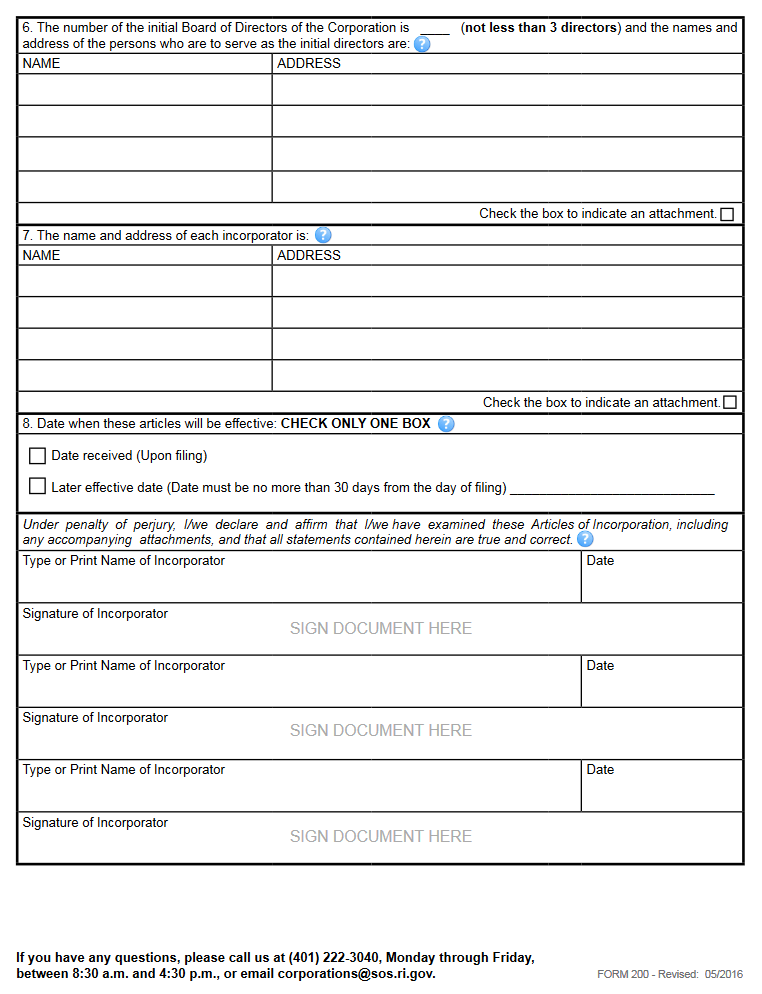
 Step 9 – The Sixth Article shall require the Number of Directors sitting on the Initial Board of Directors be reported on the blank space provided in the paragraph present. Note: There must be at least three Directors on the Initial Board of Directors.
Step 10 – There will be a table in the Sixth Article. Each row should contain information pertaining to one Director on the Initial Board of Directors. The left column will require the Full Name of the Director while the second column will require the Full Address of that Director. Since each Director must be reported, you may continue this list on another clearly labeled document. If so, then mark the check box labeled “Check box to indicate an attachment.”
Step 11 – The Seventh Article will require the Full Name and Full Address of each Incorporator. A table is provided for this purpose. In the left column, list the Name of each Incorporator. Then, in the right column list the Full Address for the Incorporator on that line. This must also be a complete roster thus, if there is not enough room, place a check mark in the box labeled “Check box to indicate an attachment” then, continue the list on a separate sheet of paper.
Step 12 – The Eight Article will define when these articles will go in effect as the result of a successful filing. If you wish the articles to go into effect upon a successful filing then mark the first box. If you would like the articles to go into effect on separate date then place a check mark in the second box and enter the Date of Effect on the blank space provided. Only one of these boxes may be chose. Note: You may only choose the Filing Date or any date up to 90 days after the Filing Date.
Step 13 – Each Incorporator that has been named, in the Seventh Article, must Print his or her Name, provide a Date of Signature beside his/her printed Name, then Sign his or her Name below the Printed Name. There is enough room for three Incorporators to do this however, you may continue this list on a separate and clearly labeled document.
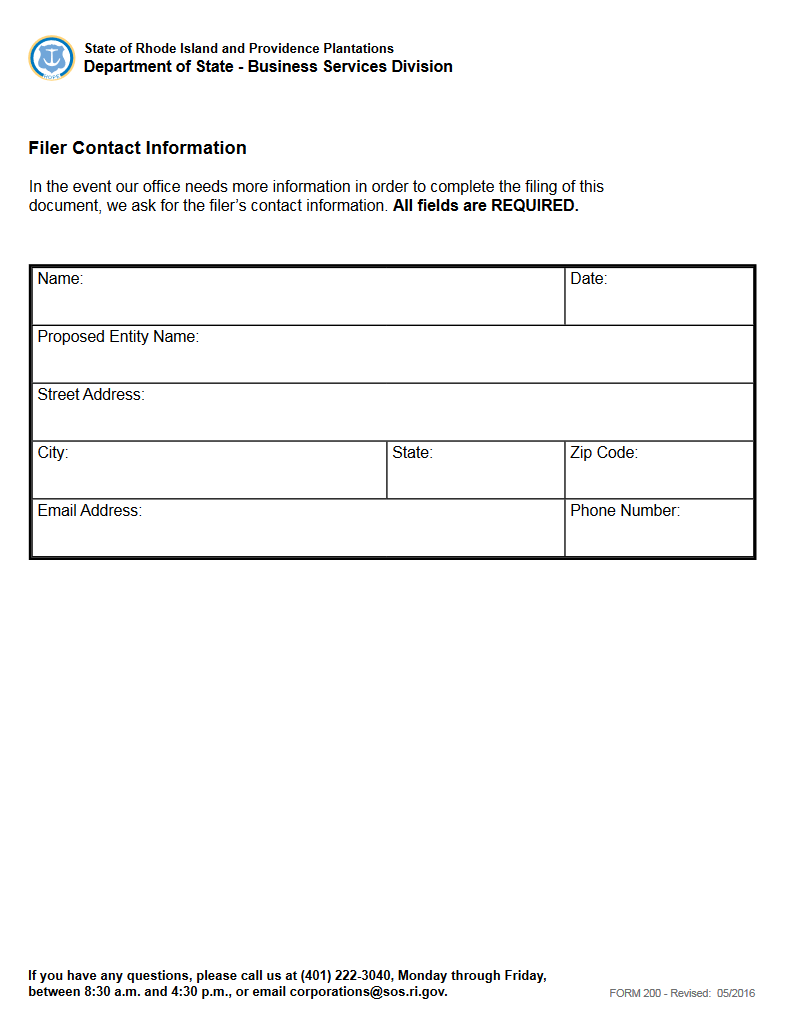
Step 14 – The next page is the Filer Contact Information page. This information is required in case the Rhode Island Secretary of State must needs further information regarding the articles being submitted. You will need to enter the Contact Party’s Full Name, Date, Proposed Entity Name, Contact Party’s Full Address, Email Address, and Phone Number.
Step 15 – Next you will need to organize all of the documents and filings that must be attached to the Rhode Island Articles of Incorporation for a Non-Profit Corporation with a check made payable to “Rhode Island Secretary of State” for the $35.00 Filing Fee. This fee must be paid in full in order for these articles to be submitted.
Mail To:
Secretary of State
Division of Business Services
148 W. River Street
Providence, Rhode Island 02904-2615
How To File Electronically
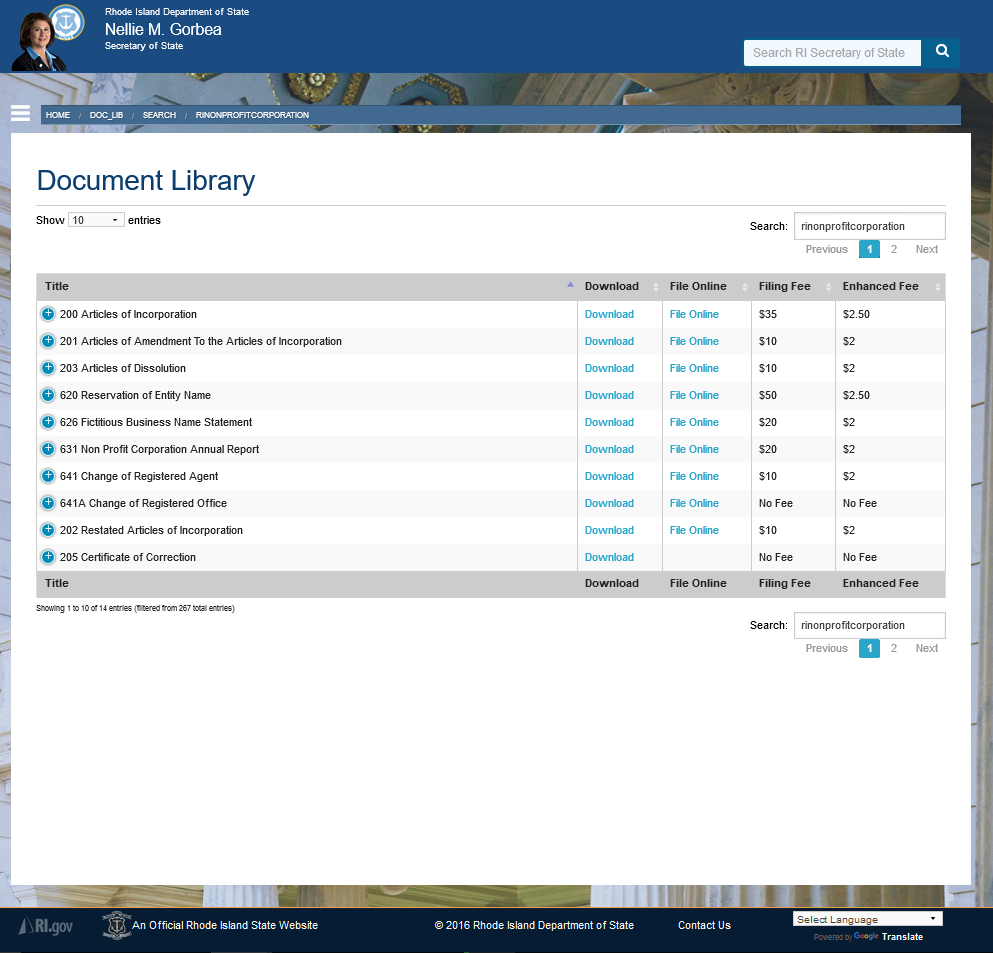
Step 1 – Go to the Rhode Island Secretary of State’s Nonprofit Corporation Document Library here: http://sos.ri.gov/doc_lib/search/rinonprofitcorporation.
Step 2 – Select the “File Online” link on the first line of the table (beginning with the words “200 Articles of Incorporation”).
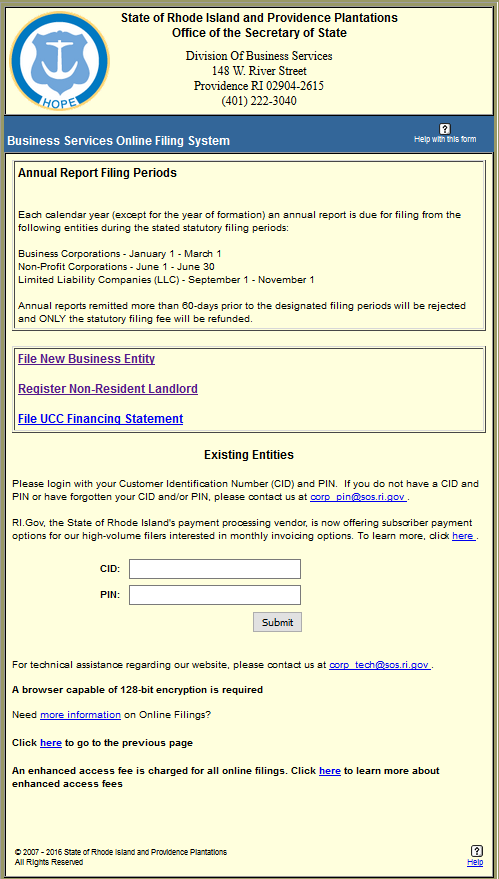
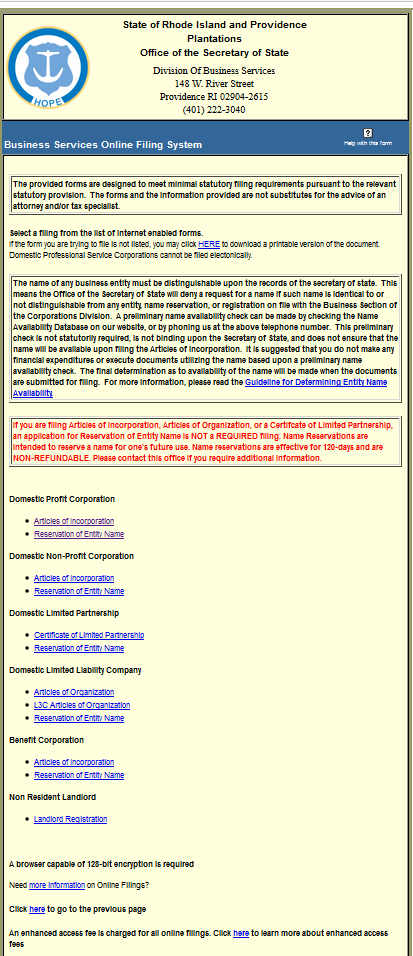
Step 3 – Select the link labeled “File New Business Entity.”
Step 4 – Select the link labeled “Articles of Incorporation,” located under the heading “Domestic Non-Profit Corporation.”
Step 5 – Enter the Full Name of the nonprofit corporation being created by this form in field provided Article I.
Step 6 – In Article II, select the first radio button, labeled “Perpetual,” if this corporation intends to maintain its active status indefinitely. If the nonprofit corporation shall operate with a specific Dissolution Date then select the second radio button, next to the text box. Enter the Date of Dissolution in the text box if this is the case.
Step 7 – In Article III, define the Purpose of this nonprofit corporation’s formation and operations.
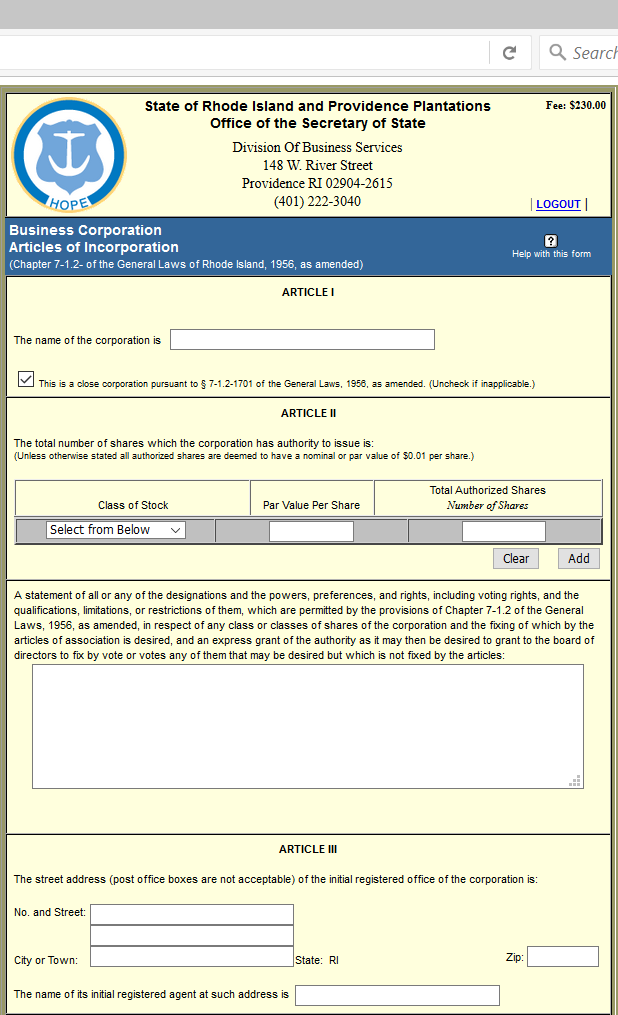
Step 8 – You may include any necessary Provisions not covered by these articles in Article IV. There will be a text box provided for this purpose.
Step 9 – Locate the first two fields in Article V, labeled “No. and Street,” then enter the Street Address (Building Number, Street, and any applicable Suite Number) of the Registered Agent’s Registered Office obtained for this corporation. Note: This must be the physical location of the Registered Office not a mailing address that is separate from the location.
Step 10 – In the field labeled “City or Town” enter the Locality where the Registered Office is located. Then locate the field labeled “Zip,” and enter the Zip Code where this Registered Office is located.
Step 11 – Locate the last field in Article V, just after the words “The name of its initial registered agent at such address is,” then enter the Full Name of the Registered Agent.
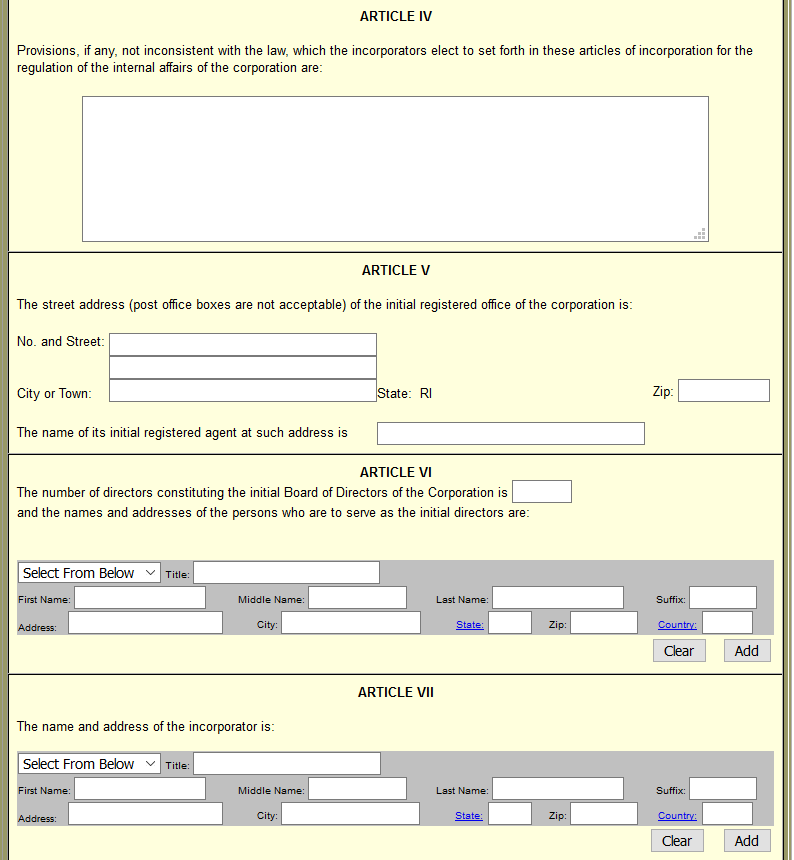
Step 12 – In Article VI, you will need to divulge the number of Directors serving on the Initial Board of Directors in the field located in the first paragraph. There must be a minimum of three initial Directors and you will have to report the Full Name and Address of each one.
Step 13 – Then in the first field of the greyed out box below this paragraph, select the word “Director” from the drop down list. In the second field, labeled “Title,” report the Title of the Director who’s information you must document (“President”).
Step 14 – You may use the fields labeled “First Name,” “Middle Name,” “Last Name,” and “Suffix” to report the Full Name of a Director. On the next line, you must report the Full Address of the Director (whose Name you reported) using the fields labeled “Address,” “City,” “State,” “Zip,” and “Country.”
Step 15 – Once you have entered all the required information for one Director, select the button labeled “Add.” This will add your entry to a Table so that you may edit the entry, delete the entry, or enter information for the next Director. You must select the “Add” button to solidify the entry in your articles.
Step 16 – In Article VII, report the Full Name and Address of each Incorporator. This will be a similar process to the last few steps. Use the drop down list in the first field to select “Incorporator.” This will auto-populate the “Title” field however, you may enter any applicable Title that is applicable to the Incorporator.
Step 17 – The “First Name,” “Middle Name,” “Last Name,” and “Suffix” are provided so that you may report the Full Name of an Incorporator. Below this, enter the Full Address using the appropriate fields on the next line. Once an Incorporator’s information has been entered, select the “Add” button. This will display the information you entered into a Table. You may enter as many Incorporators as you like.
Step 18 – In Article VIII, you may determine precisely what Date the existence of your corporation begins. This may be any Date between the Filing Date and up to 90 days past the Filing Date. You may leave this field blank, if you wish the Filing Date as the Date your corporation officially exists in the eyes of the state.
Step 19 – Next under the section heading “Filer’s Contact Information,” you must enter the Contact Name, Business Name, Street Address, City/Town, State, Zip Code, Country, Contact Phone, and Contact Email for the individual or entity who is responsible for filing this information and will receive any correspondence from the state regarding the information on these articles.
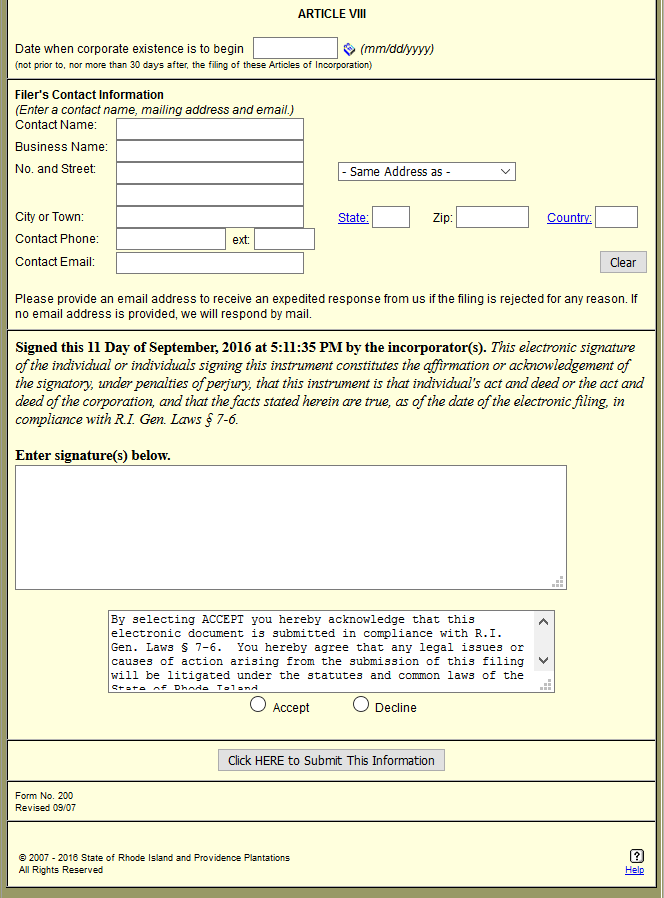
Step 20 – The next text box, below the acknowledgement paragraph, each Incorporator who has been reported on this document must type his or her Name as an Electronic Signature. Once this is done, click the “Accept” radio button in the presence of these Incorporators and select the button labeled “Submit.” This will guide you to a page where you may review your information briefly. Selecting Accept on this page will prompt the browser to open the payment area. You must pay the $35.00 Filing Fee using a credit card in order to finalize this submittal.
Related Forms
 Rhode Island Articles of Incorporation – Business Corporation |Form 100
 Rhode Island Certificate of Authority – Foreign Nonprofit Corporation | Form 250
Rhode Island Application for Certificate of Authority by a Foreign Business Corporation | Form 150
Rhode Island Certificate of Authority – Foreign Nonprofit Corporation | Form 250
Rhode Island Application for Certificate of Authority by a Foreign Business Corporation | Form 150
 Hawaii Articles of Incorporation for Profit Corporation | Form DC-1
