|
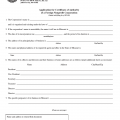
Alaska Certificate of Authority Foreign Nonprofit Corporation | Form 08-452 |
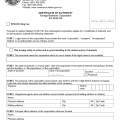
The Alaska Certificate of Authority Foreign Nonprofit Corporation should be submitted before attempting to operate a foreign nonprofit corporation within the State of Alaska. This will be a simple form meant to organize and report all the information necessary for the Alaska Corporate Section to review and approve. It should be submitted in duplicate (original plus copy) with a state processing fee payment of $50.00. Some other documentation (i.e. other articles) may be required be submitted, depending upon the nature of the nonprofit. There will also be several steps necessary to take before submitting these articles. For instance,businesses need to obtain a business license from the State of Alaska before beginning operations. In order to find more information and/or begin the process of obtaining a license, visit https://www.commerce.alaska.gov/web/cbpl/ProfessionalLicensing.aspx. This certificate of authority will be compliant with Alaska Stature 10.20.485. Contacting other required entities (such as the I.R.S.) will be left to the discretion of the foreign nonprofit. If one has any questions about the process or his/her responsibilities, he/she may consult an attorney or the Alaska Corporate Division website (https://www.commerce.alaska.gov).
These articles have an average processing time of 10-15 days and will be reviewed in the order they were received. One may file by paper or online. Iit is worth mentioning that filing online may be quicker as the application will be reviewed sooner rather than later.
How to File by Paper
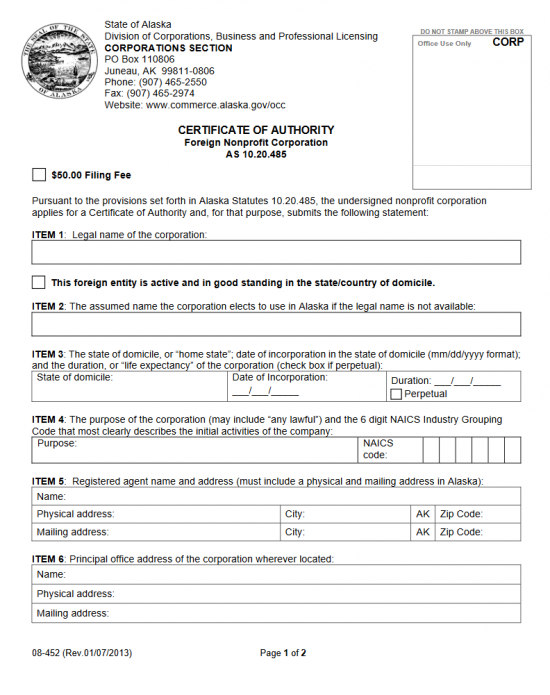
Step 1 – Place a check mark in the box labeled $50.00 Filing Fee.
Step 2 – In Item 1, enter the name of the nonprofit as it is known in your state’s articles. If this nonprofit is active and in good standing with its home state place a mark in this item’s box.
Step 3 – If you have had to establish a different name for your nonprofit to operate in the State of Alaska, enter the name your nonprofit will be known as in Item 2.
Step 4 – Item 3 will require three pieces of information regarding the state your nonprofit originated in. First , enter the state your nonprofit resides in. Then, enter the date of incorporation in the origin state. Finally, if your nonprofit will cease being active, enter its termination date next to the word “Duration.” If no such date has been determined or exists then check the box labeled “Perpetual” to indicate it shall continue indefinitely.
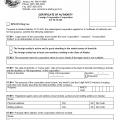
Step 5 – Report the purpose of your nonprofit corporation in Item 4. If you need more room, clearly label a separate document, continue the purpose description on it, and attach it to this form. The second box in Item 4 requires the NAICS code for your nonprofit.
Step 6 – In Item 5, enter the physical, or street, address and the mailing address for your registered agent in Alaska. Both these addresses must be within the Alaska State Borders.
Step 7 – Report the name, street address, and mailing address of your principal office in Item 6.
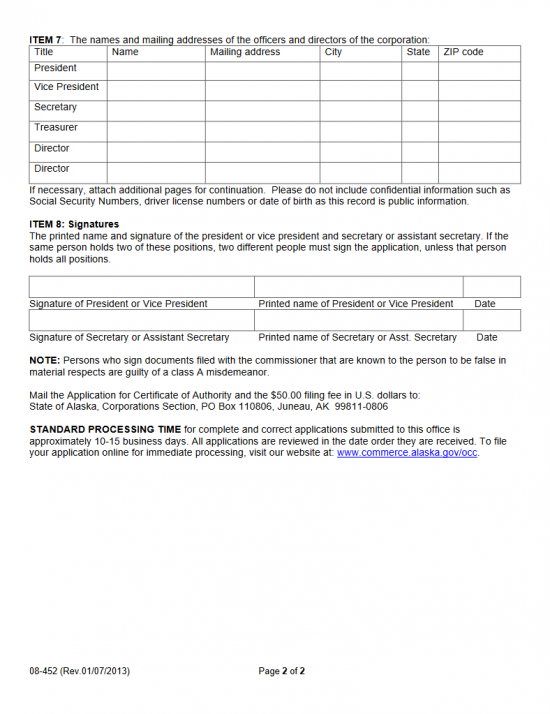
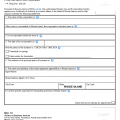
Step 8 – In Item 7, report the name, mailing address, city, state, and zip code for the President, Vice President, Secretary, Treasurer, and Directors of the nonprofit being formed in Alaska. This must be a complete list so if necessary, attach a clearly labeled document with the remaining parties reported.
Step 9 – In Item 8, the signature, printed name, and date of signature must be provided by the President or Vice President of this nonprofit and the Secretary or Assistant Secretary of this nonprofit.
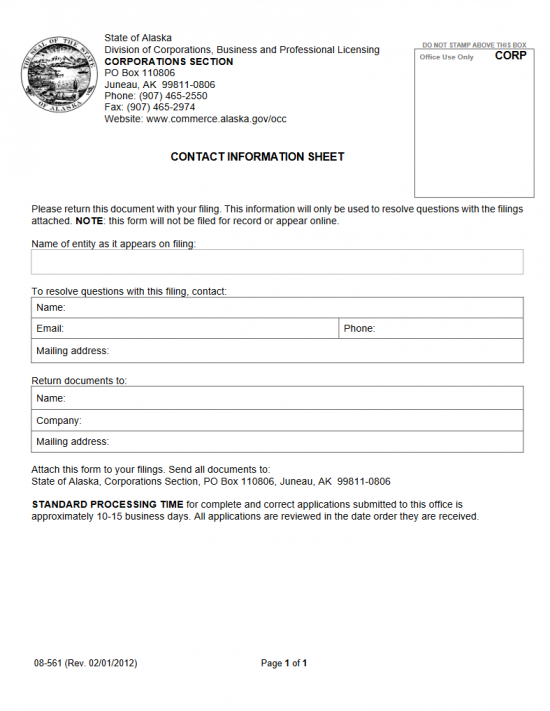
Step 10 – Now that information for this certificate of authority has been reported and the document signed, it is time to fill out the contact sheet (required). This will be included with the form. It must contain the name of the nonprofit entity being filed, the contact information (name, email, phone number, mailing address) for the party who may resolve issues with the state regarding this application, and the mailing address where documents may be returned to (name, company, mailing address).
Step 11 – Make an exact copy of the certificate of authority after it has been completed. Mail the copy and the original completed certificate, all accompanying paperwork, and a check for $50.00, payable to: Division of Corporations, Business and Professional Licensing and mail it to:
State of Alaska
Corporations Section
P.O. Box 110806
Juneau, AK 99811-0806
If you are mailing in your Certificate of Authority but wish to pay with a credit card, you may do so here: https://www.commerce.alaska.gov/web/cbpl/CreditCardPayments.aspx. Read this carefully, then select the form that relates to the entity’s physical address.
How to File Electronically
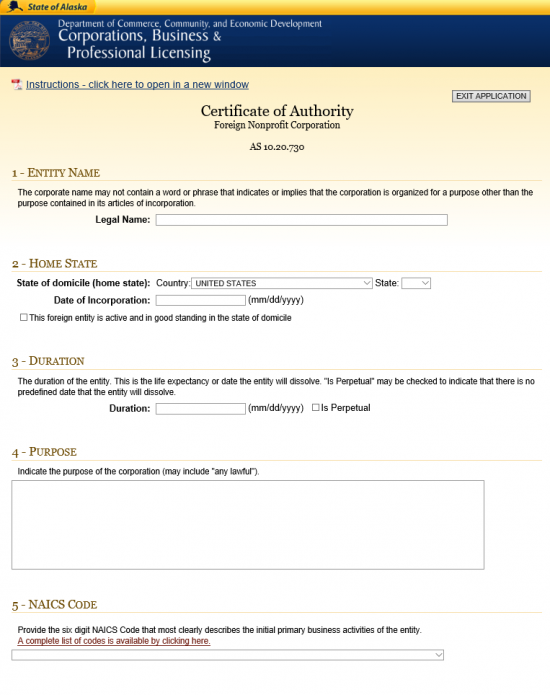
Step 1 – Locate the row labeled “Nonprofit Corporations” then select “Foreign (Non-Alaskan).” Finally, select the screen icon next to the words “Certificate of Authority.” This will redirect the browser to the appropriate form page.
Step 2 – First enter the name of your foreign nonprofit in Item 1.
Step 3 – The next step will be to report the state your foreign nonprofit was established in, the date you incorporated there, and if this entity is active and in good standing in the nonprofit’s home state in Item 2. The next item (Item 3) shall require the last date your nonprofit will be active or that you check the box labeled “Is Perpetual” to indicate there is no predefined lifespan for this entity.
Step 4 – It is now time to define the purpose of the nonprofit. Do this in Item 4. Then, in Item 5, define the NAICS code of your nonprofit using the drop down button.
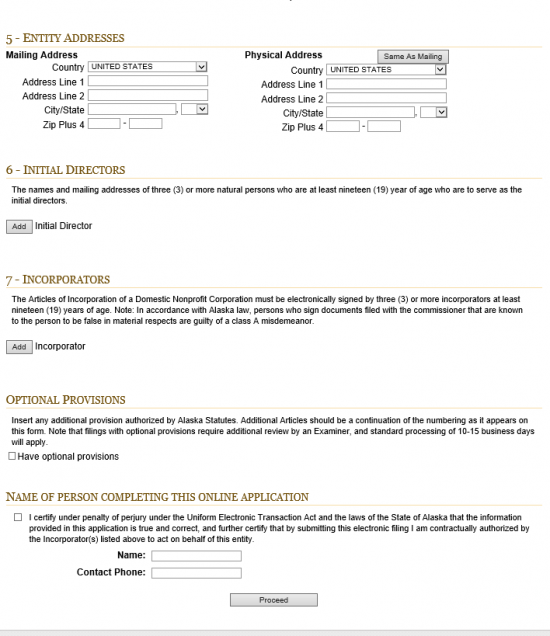
Step 5 – Next, in Item 6, report the entity type, identity, mailing address, and physical address of your registered agent in the State of Alaska. In Item 7, list the nonprofit’s mailing address and physical address.
Step 6 – Now it will be time to report entity type, name, and mailing address for the assistant secretary, assistant treasurer, director, president, secretary, treasurer, and vice president of the nonprofit corporation being formed. Do this by selecting the “Add” button in Item 8 then filling in the appropriate fields. Each entry must be saved separately. Do not use the back button on your browser to return to the application, only the button labeled “Previous Screen.” Once this has been done, the “Name of Person Completing This Online Applciation” will require the organizer of this application to check the verification box, then enter his/her name and contact phone number in the appropriate areas.
Step 7 – Select the button labeled “Proceed” then follow all payment instructions.
